


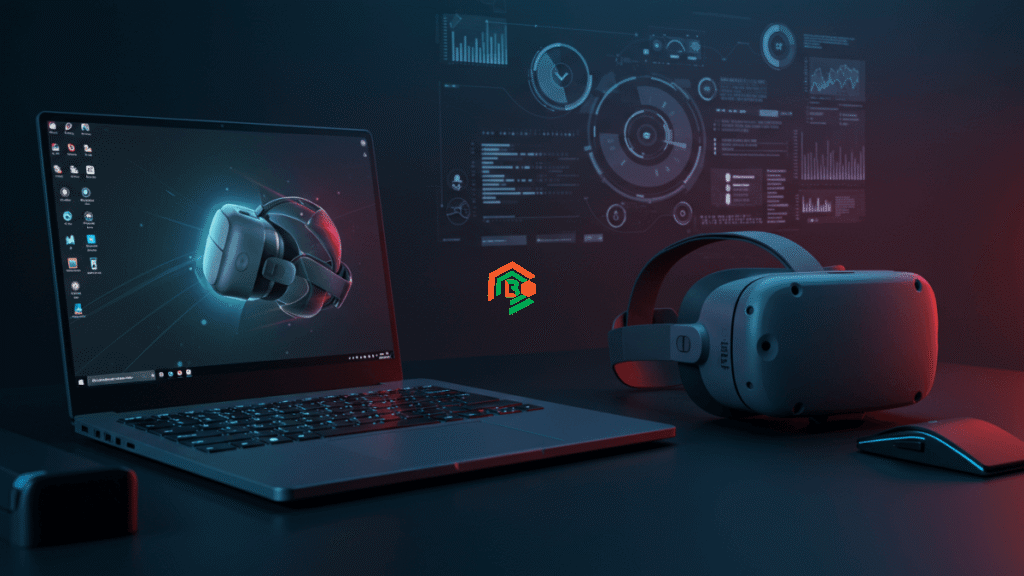
Virtual reality (VR) is one of the most exciting ways to enjoy gaming today, but it needs more power and optimization than regular games. If you’ve invested in a gaming laptop and want to dive into VR, you might be wondering: How can I make my gaming laptop ready for VR? Or, what’s the best way to boost VR performance on a laptop? Don’t worry—this guide will give you simple, actionable tips to optimize your laptop for VR so you can enjoy a smooth, immersive experience without lag, stuttering, or overheating.
Check If Your Gaming Laptop Is Ready for VR
Before you even think about optimizing settings or upgrading anything, the first step is to check if your gaming laptop is VR-ready. Not all laptops, even gaming ones, can handle the heavy demands of VR. VR requires powerful hardware, fast data transfer, and software compatibility. If your laptop isn’t designed for VR, no amount of tweaking will give you a flawless experience.
So, ask yourself: Does my laptop have a dedicated GPU (like NVIDIA RTX or AMD Radeon)? Does it have enough RAM (at least 8GB, but preferably 16GB or more)? Is the CPU powerful enough to handle VR workloads without bottlenecks? Checking these points early saves you time and frustration later.
What Specs Do You Need for VR?
Most VR headset manufacturers, like Oculus (Meta Quest), HTC Vive, and Valve Index, have minimum and recommended system requirements for laptops. Let’s break them down:
- GPU (Graphics Card): NVIDIA GTX 1060/AMD RX 480 minimum, RTX 2060/3060 or higher recommended.
- CPU (Processor): Intel i5-4590 or AMD Ryzen 5 1500X minimum, newer i7/Ryzen 7 recommended.
- RAM: 8GB minimum, 16GB+ recommended for smooth multitasking.
- Ports: USB 3.0 ports and HDMI/DisplayPort support.
- Operating System: Windows 10 or 11 64-bit.
If your specs are close to or above the recommended, you’re in good shape for VR. If not, you’ll need to focus on optimization tricks to get the most out of your hardware.
How to Check Laptop Specs Quickly
You don’t need to be a tech expert to check your laptop’s specs. Here’s the easiest way:
- Windows Shortcut: Press Windows Key + R, type dxdiag, and press Enter. This opens the DirectX Diagnostic Tool showing CPU, RAM, and GPU details.
- Settings Method: Go to Settings > System > About to see your processor and RAM info.
- GPU Info: Right-click your desktop > NVIDIA Control Panel or AMD Radeon Software to check GPU details.
This quick check helps you know where your laptop stands and which areas need improvement.
Best Tools to Test VR Readiness
Several free tools help you check if your laptop is ready for VR:
- SteamVR Performance Test: Runs a quick benchmark to tell you if your system is VR-ready.
- Oculus Compatibility Tool: For Meta Quest or Rift, checks hardware compatibility.
- VRMark: Gives detailed performance scores for different VR scenarios.
These tools don’t just test specs; they also identify bottlenecks like underperforming GPUs or slow CPUs.
Update Your Laptop’s Drivers and Software
One of the easiest ways to improve VR performance is keeping your drivers updated. Outdated GPU drivers can cause stuttering, crashes, and poor visuals in VR. Here’s what to do:
- Visit NVIDIA GeForce Experience or AMD Radeon Software to download the latest drivers.
- Update Windows OS to the newest version for better hardware support.
- Don’t forget USB drivers and headset firmware updates—they impact VR tracking and stability.
Adjust Graphics Settings for Better VR
VR games demand a lot from your laptop, so tweaking graphics settings can have a big impact:
- Reduce resolution scale to lighten GPU load.
- Turn off anti-aliasing if visuals feel sluggish.
- Set textures to medium instead of high.
- Use asynchronous spacewarp (ASW) or similar technologies to smooth out performance at lower frame rates.
These changes won’t ruin your visuals but will give you a smoother VR experience.
Best VR Settings for Low-End Gaming Laptops
If your gaming laptop barely meets the minimum specs, don’t lose hope. You can still enjoy VR by carefully adjusting settings:
- Lower the field of view (FOV) slightly to reduce rendering work.
- Set refresh rates to 72Hz if your headset supports it instead of 90Hz.
- Close all unnecessary background apps to free up system resources.
- Use performance modes in VR software to prioritize frame rates over graphic quality.
These tweaks help prevent motion sickness caused by laggy VR visuals.
How to Set Your GPU for High Performance
Your GPU might not be running at full power unless you tell it to. Here’s how:
- Open NVIDIA Control Panel or AMD Radeon Software.
- Set Power Management Mode to “Prefer Maximum Performance.”
- Assign your VR apps to run on the high-performance GPU (important for laptops with integrated + dedicated graphics).
- Enable G-Sync or FreeSync if supported to reduce screen tearing in VR.
These steps ensure your GPU gives its best performance during VR sessions.
Tips to Avoid Overheating While Gaming
VR gaming pushes laptops hard, often leading to overheating. Overheating can throttle performance and even damage components. To avoid this:
- Use a laptop cooling pad to improve airflow.
- Keep your laptop on a hard, flat surface—never on a bed or couch.
- Clean your laptop’s vents regularly to remove dust buildup.
- Consider using software like MSI Afterburner to monitor temps and set fan curves.
Keeping temperatures under control maintains high performance and extends your laptop’s lifespan.
Clean Up Your Laptop for Faster VR Gaming
Over time, laptops get cluttered with unused apps and background processes. This slows everything down, including VR. To fix this:
- Uninstall unused programs and bloatware.
- Disable startup apps that aren’t necessary.
- Use tools like CCleaner to clean temporary files and optimize the registry.
- Defragment your hard drive (if HDD) or optimize SSDs using Windows tools.
A clean system means more resources for your VR headset and games.
Boost VR Performance With External Accessories
If your laptop still struggles, external hardware can help:
- External GPU (eGPU): Connects via Thunderbolt 3/4 to provide desktop-level graphics performance.
- External cooling fans: Keep your laptop running cooler under heavy loads.
- High-quality USB hubs: Prevent connection issues with multiple VR sensors.
While eGPUs are an investment, they’re worth it if you plan to use VR extensively on a laptop.
Optimize Power Settings for VR Gaming
Laptops often run in power-saving modes by default. For VR, you need full performance:
- Go to Control Panel > Power Options and select High Performance or create a custom power plan.
- Disable CPU throttling and ensure maximum processor state is set to 100%.
- Turn off sleep timers and screen savers to avoid interruptions during VR.
This ensures your laptop delivers consistent power to all components while gaming.
Keep Your Laptop Cool During VR Gaming
Heat is the enemy of VR performance. Along with using a cooling pad and cleaning vents, consider these tips:
- Limit VR gaming sessions to 1–2 hours with breaks in between.
- Keep your room cool with a fan or AC.
- Undervolt your CPU slightly using tools like Intel XTU or ThrottleStop to reduce heat without losing performance.
These steps can help you enjoy long VR sessions without worrying about thermal throttling.
The Bottom Line
Optimizing your gaming laptop for VR doesn’t require expensive upgrades—it’s about making the most of your current hardware. By checking VR readiness, updating drivers, adjusting settings, and preventing overheating, you can enjoy smooth, immersive VR gaming even on a mid-range laptop. Remember, VR is demanding, but with these tips, you’ll avoid lags, stutters, and discomfort.